


Ready to level up your design game? This Figma to Webflow migration guide takes you through the step-by-step process of transforming your stunning mockups into fully functional websites. Turn your pixel-perfect Figma designs into responsive, interactive experiences that look exactly how you imagined. Grab your designs and let's make digital magic happen.
Why migrate from Figma to Webflow?
While Figma is a brilliant tool for design and prototyping, it doesn’t cover the entire journey of turning your ideas into a real, functional website. Here's why migrating from Figma to Webflow should be your next step:
Design Scope
Figma is fantastic for creating stunning designs and interactive prototypes, but these remain as visual mockups.
Webflow, on the other hand, takes your designs from Figma and turns them into live, interactive websites. It generates clean code (HTML, CSS, JavaScript), so you can build and launch fully functional websites directly from your Figma to Webflow transition.
Content Management
Figma lacks a content management system (CMS), so managing dynamic content (like blog posts or product catalogs) requires external tools or workarounds.
With Webflow, you get a built-in CMS that allows you to easily manage dynamic content—whether it’s blogs, articles, or product listings—all without leaving the platform.
E-commerce
Figma is great for designing e-commerce layouts, but it doesn’t offer the ability to build an actual online store.
Webflow, however, provides full e-commerce functionality that allows you to create, manage, and run your online store directly within the platform. No external tools or integrations are needed.
Collaboration
Figma offers robust real-time collaboration, which is ideal for design teams, but its free plan limits the number of projects and collaborators.
Webflow enhances collaboration by allowing teams to work together and clients to edit content directly through Webflow’s user-friendly Editor, making the Figma to Webflow migration even easier.
Custom Code
Figma is primarily a design tool and doesn’t support the integration of custom code for website functionality.
Webflow, however, lets you integrate custom code (HTML, CSS, JavaScript) directly into your site, providing complete flexibility and control to enhance your designs or add complex features.
Figma and Webflow - What's the difference?
Figma: A collaborative design tool for creating prototypes, wireframes, and mockups. It's perfect for the design phase, but doesn’t directly build live websites, though third-party tools can help bridge that gap.
Webflow: A versatile platform for both designing and building fully functional websites. You can either create custom designs from scratch or import designs (like from Figma) and Webflow generates the code to bring them to life.
In short, Figma excels in design, while Webflow handles both design and website development.
Migrating from Figma to Webflow - What do you need to know?
Before you start converting your Figma design to Webflow, there are a few things you need to know:
- Webflow has a learning curve.
If you're new to Webflow, spend some time learning the basics before you start building your website.
- Not all Figma features are available in Webflow, and vice versa.
Be prepared to make some adjustments to your design during the conversion process.
- Test your website regularly as you're building it.
This will help you catch and fix any errors before they become bigger problems.
- Custom Code Integration May Require Adjustments
If your Figma design includes custom code elements, be aware that you may need to reimplement these elements within Webflow using its unique coding environment. This might require tweaking or rewriting parts of the code to make them compatible with Webflow's system, ensuring a smooth Figma to Webflow migration.
Pro Tip: Before you start building your website, it's important to plan your structure. This will help you avoid making changes later on that could break your website.
Figma to Webflow migration: What are the steps?
Migrating your designs from Figma to Webflow is an exciting process that transforms static prototypes into fully functional websites. To make the transition smooth, follow these key steps and bring your vision to life with confidence.
Step 1 - Start your Webflow journey: How to create a new project
The first step is very simple. Here’s how to create a new project in Webflow:
- Once you’re logged in Webflow’s website, click the “Create a new website” button.
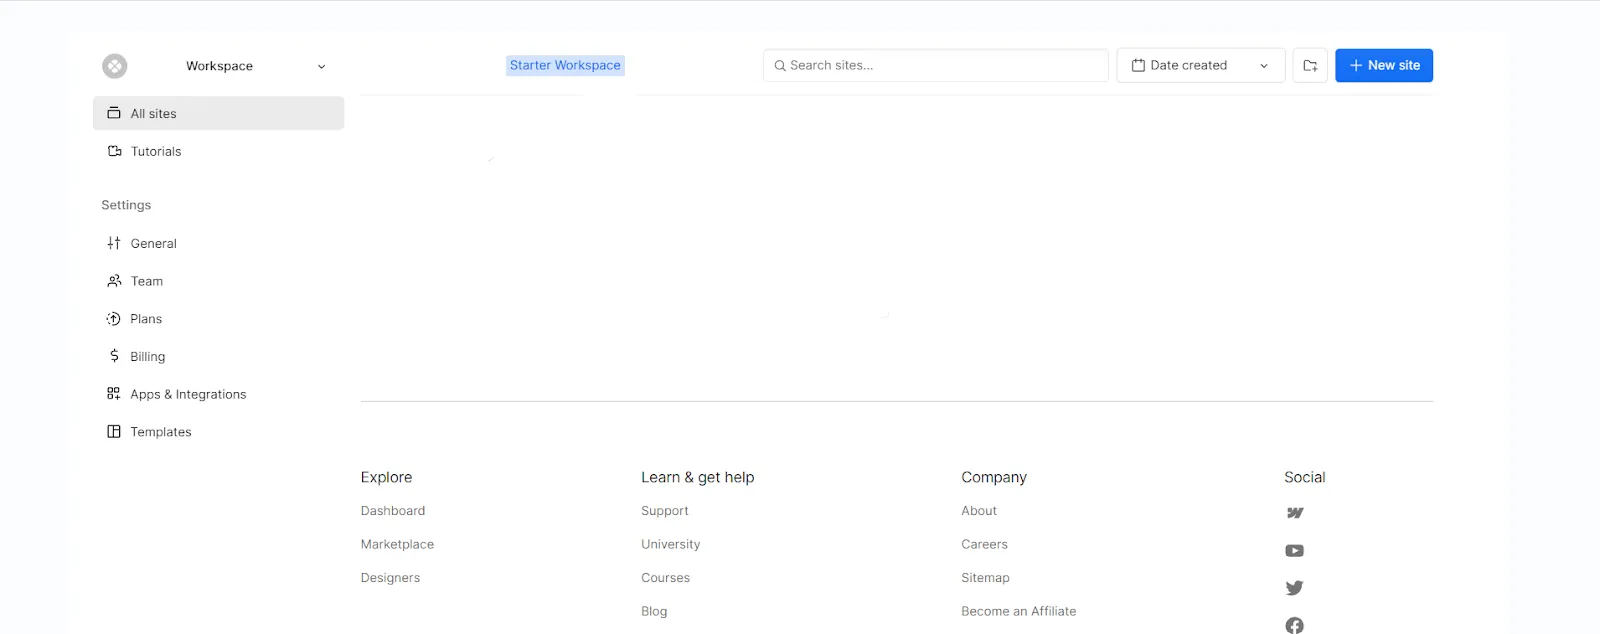
- Enter a name for your project and select the “Blank Site” template.
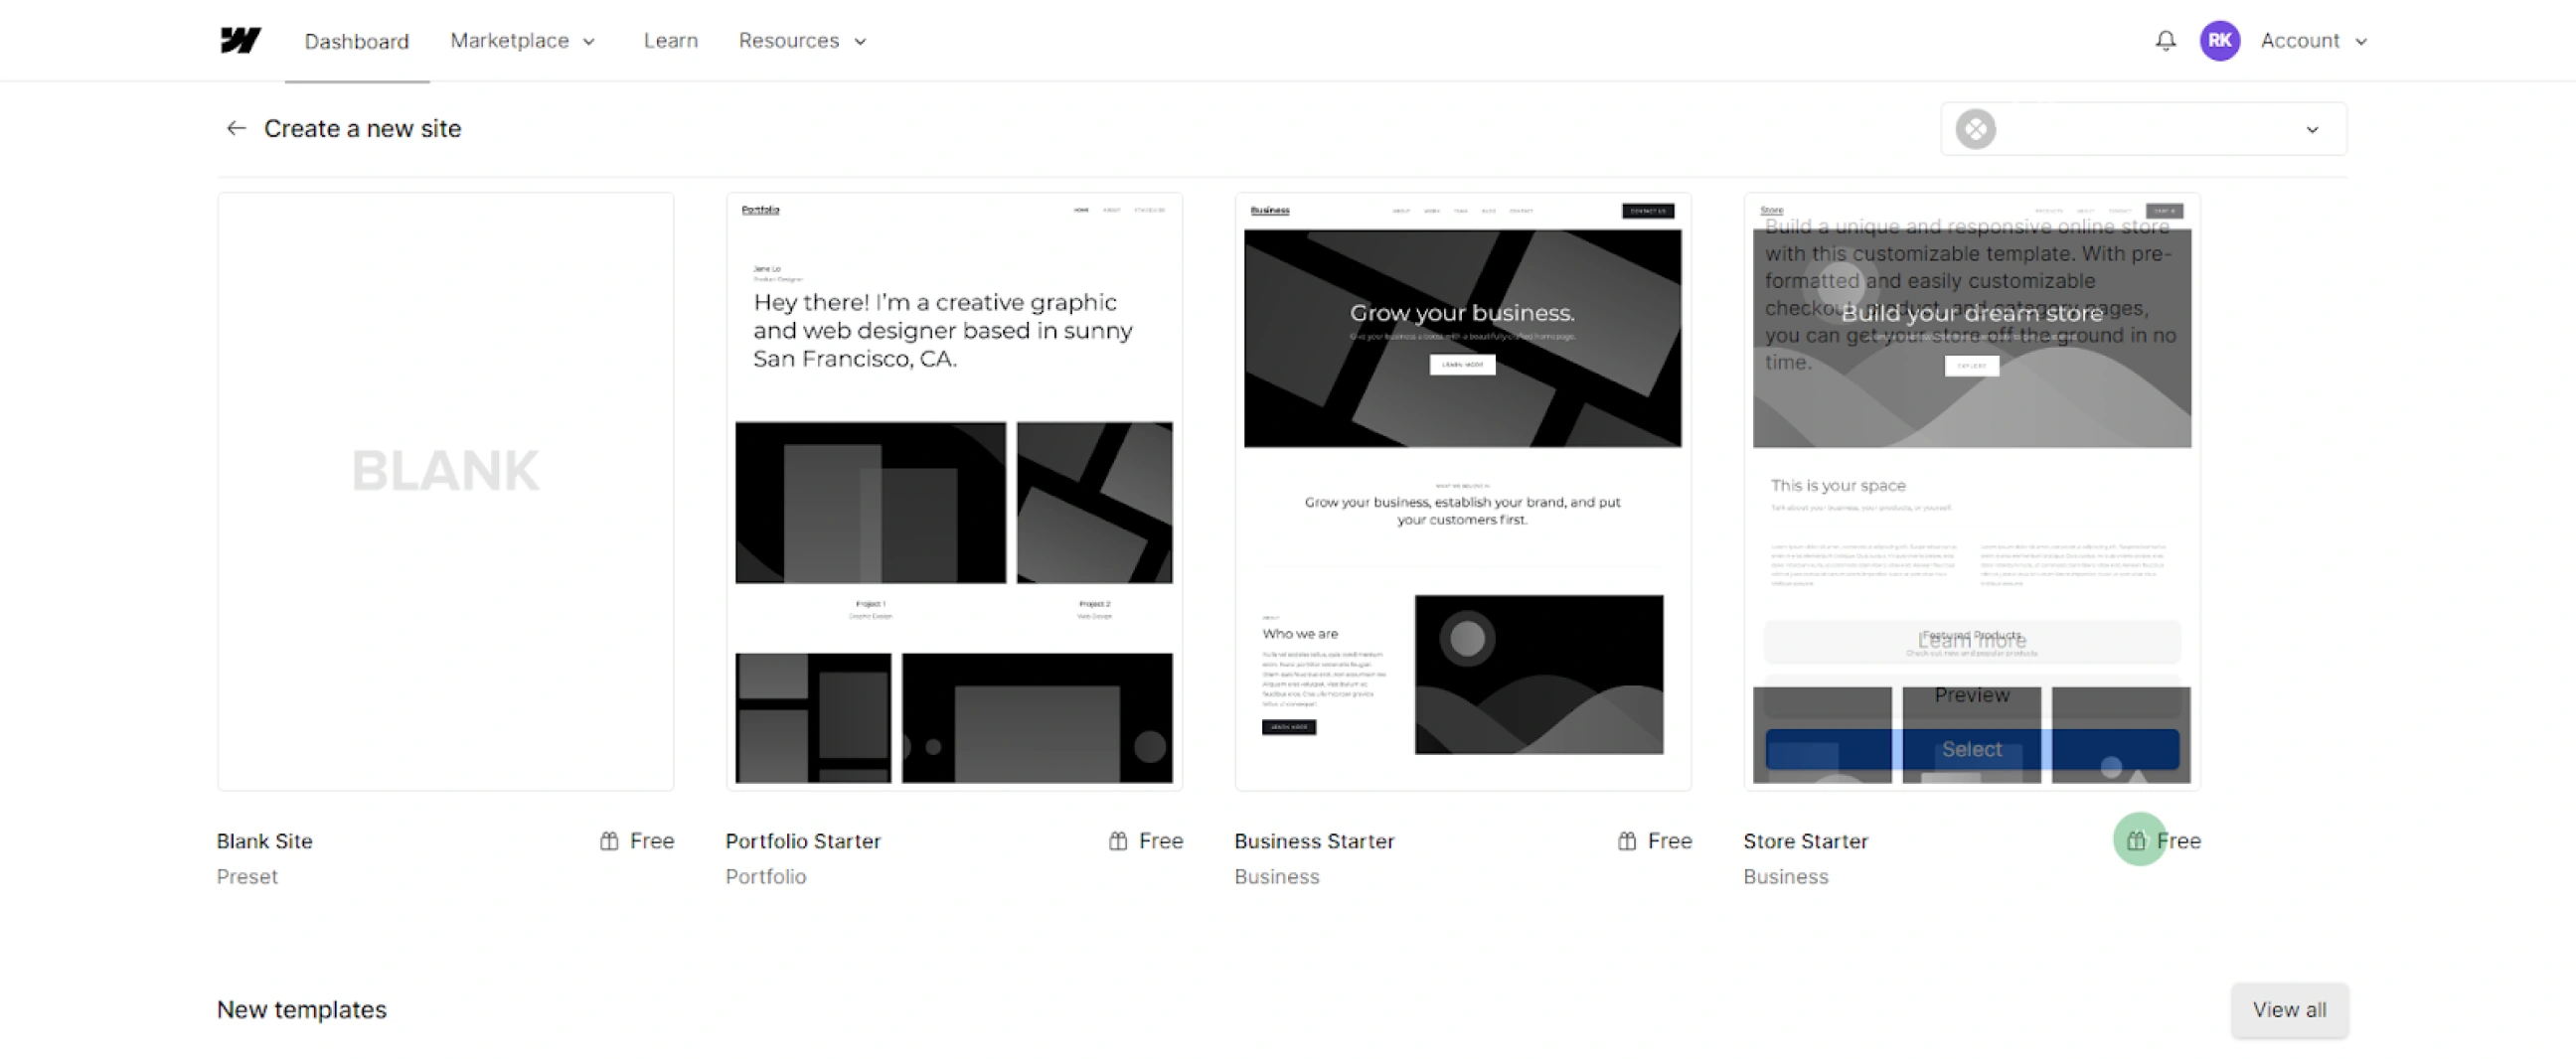
- Click the “Create site button”.

Pro Tip: Give your project a clear and concise name. This will help you keep track of your projects and make it easier to find the one you’re looking for later on.

Step 2 - Create a stunning and consistent brand identity with Webflow's global styles
Global styles allow you to define the overall look and feel of your website, such as the font, color, and spacing of your elements. To create a global style:
- Enter a name for your global style and select an element type.
- Configure the style settings for the element.
- Click the “Save button”.
- Repeat for each element you want to define a global style for.
Pro tip: Experiment with global styles to create reusable elements, such as headers, footers, and navigation bars. This will save you time when building your website and help you create a unique brand identity.
Step 3 - Export your assets from Figma
Once you’ve created your style guide, it’s time to export your assets from Figma.
- Go to the “File” menu and select “Export”.
- In the “Export” dialog box, select the desired format and click the “Export button”.
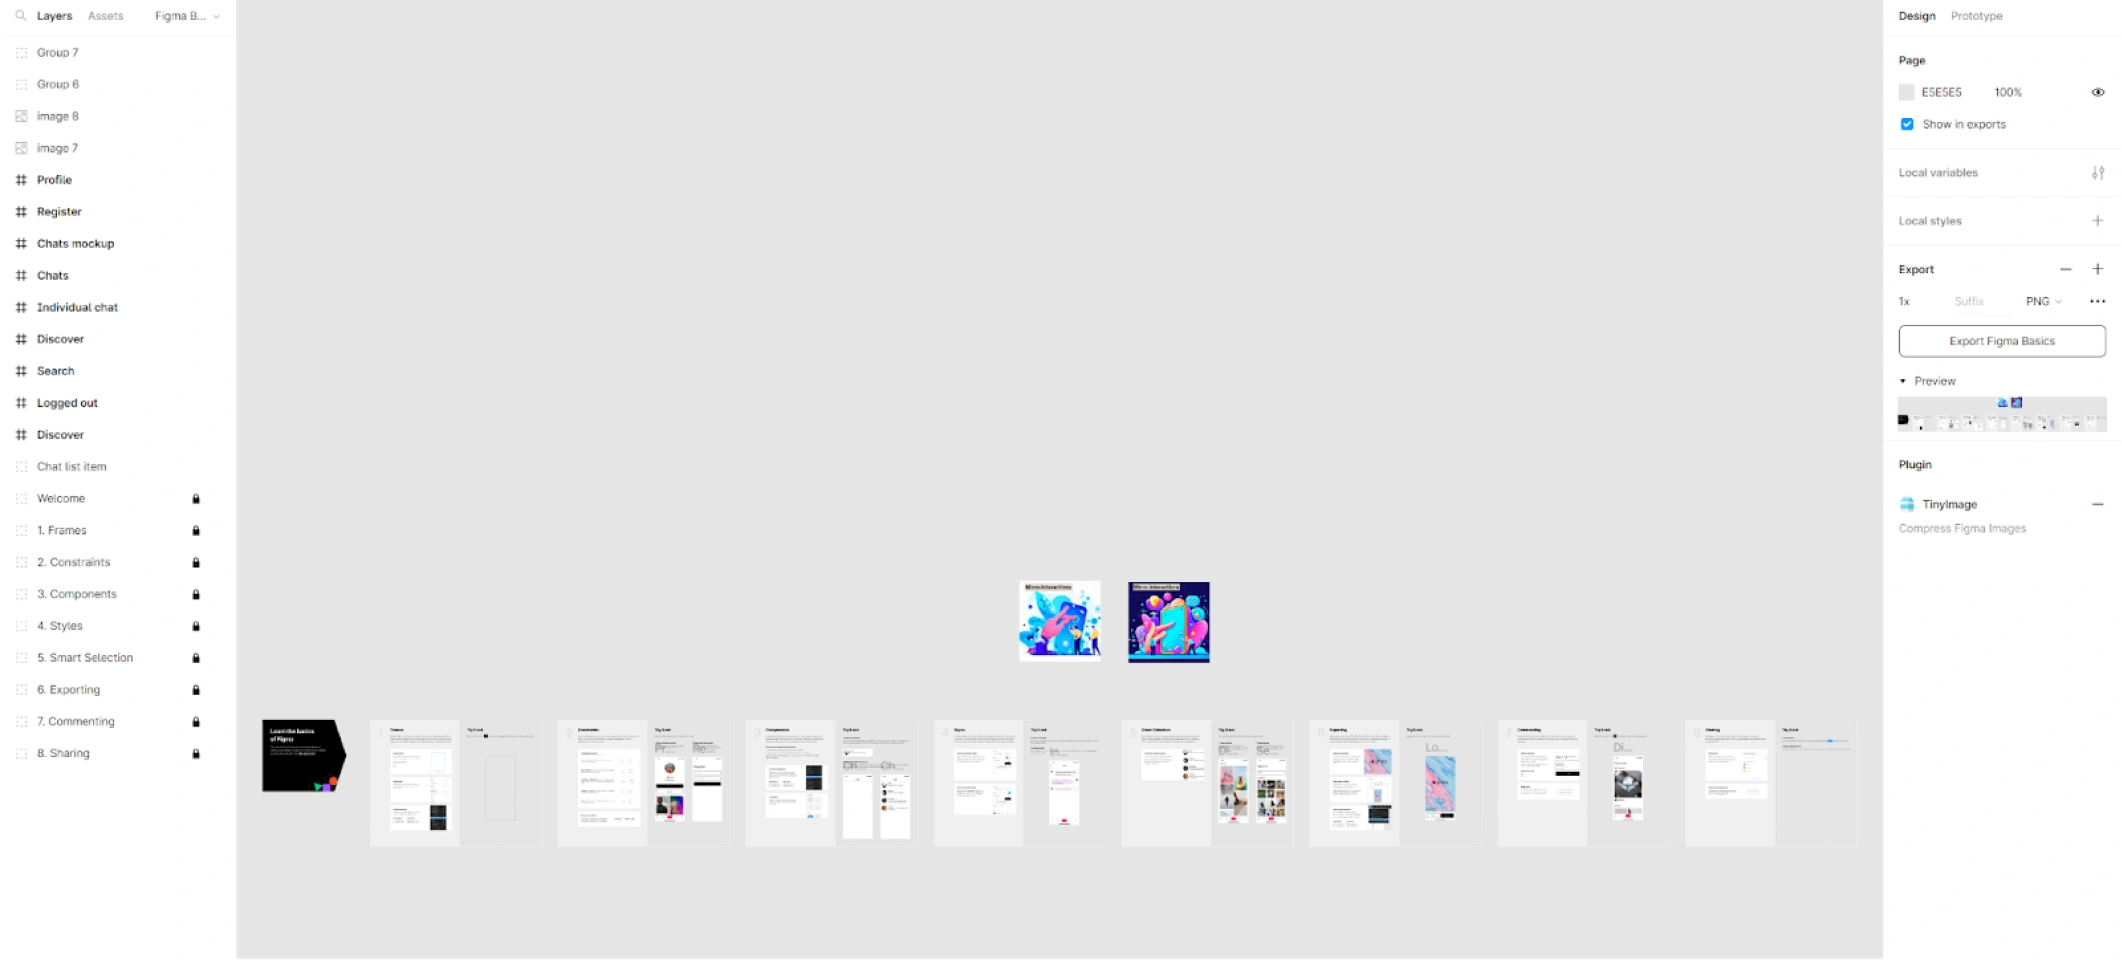
Pro Tip: Organize your assets from Figma into folders before exporting them and use the “Export Selection” option to export only the assets that you need. This will make it easier to find what you need when you're building your website in Webflow.
Step 4 - Build a solid foundation for your website with Webflow's div-frames
Now you need to create a div-frame using HTML elements which will be the basic structure of your website. This process involves the following steps:
- Create a simple layout.
For example, you might have a header, footer, navigation bar, and main content area.
- Add div-frames for each section.
To do this, drag and drop elements from the Webflow Elements panel onto the canvas.
- Add and style content in div-frames.
Use the Webflow Style Editor to change the color, font, and other design elements of your div-frames and your content.
- Test layout and make adjustments.
You can use the Webflow Preview tool to preview your website on different devices and screen sizes.
Pro Tip: Use Webflow's grid tool to create responsive layouts with ease. It allows you to drag and drop elements onto the canvas to create evenly spaced columns and rows.
Step 5 - Add personality to your website with Webflow's styling options
Webflow's powerful styling options make it easy to add personality to your website. To style an element, simply do this:
- Select the element and open the "Style" panel.
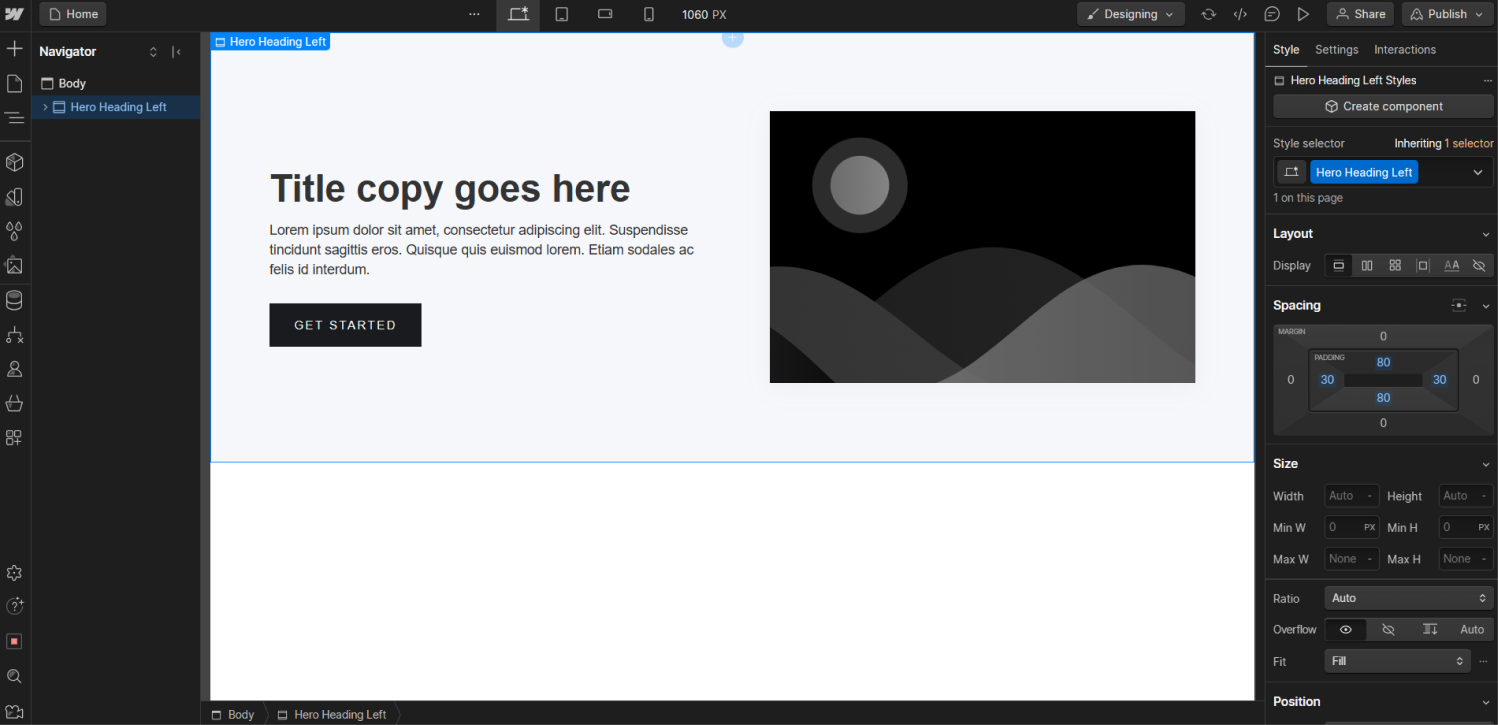
- You can then change the color, font, font size, line height, letter spacing, borders, shadows, and more.
- To apply a global style to the element, select the global style from the "Class" selector.
- To create a new global style, click the "+" button in the "Class" selector and enter a name for your new style.
Pro Tip: Mobile users account for more than half of all web traffic, so it's important to make sure your website looks great and functions properly on mobile devices. To do this, design your website with mobile in mind from the start. Use responsive typography and fluid layouts so your website can automatically adapt to different screen sizes.
Step 6 - Engage your visitors with dynamic interactions
Webflow allows you to add interactions to your website, such as animations and hovers. To add an interaction, do the following:
- Go to the “Interactions tab” and select the element you want to add the interaction to
- Select from one of the many interactions in the “Interactions” panel
Pro Tip: Think outside the box! Interactions can be used to create unique and engaging experiences for your visitors. For example, you could create an animation that plays when a visitor hovers over a button, or a sticky navigation bar that follows the visitor down the page.
Step 7 - Launch your website with confidence
You like how things are looking? Great! It’s time to publish your website.
- Go to the “Publish” tab and click the “Publish” button
- Once your website is published, you can visit it in a web browser to see how it looks
Pro Tip: Before you publish your website, be sure to test it thoroughly on different devices and browsers. Also, check the spacing and margins to ensure that they create a balanced and organized layout.
Final Words
Now that you know how to convert your Figma design to Webflow, you can start building your dream website. Just remember to plan your structure, organize your assets, and test your website thoroughly before publishing it.
As you’ve already learned from this blog post, migrating your website from Figma to Webflow is a relatively straightforward and easy process. Here are some final tips to help you take it to the next level:
- Use the Webflow Figma plugin to import your Figma designs to Webflow
This plugin automatically converts your Figma designs to Webflow code, saving you a lot of time and effort.
- Use Webflow's components to create reusable elements
Components allow you to create reusable elements, such as headers, footers, and navigation menus. This can save you a lot of time when building your website.
- Once your website is published, don't be afraid to make changes
Webflow makes it easy to update your website without having to write any code.
Migrating Figma to Webflow: What to expect from us
You’ve designed something amazing in Figma, and now it’s time to turn it into a fully functional website. That’s where we come in!Our team isn’t just technically skilled—we know Figma and Webflow inside out.
We’ll ensure your Figma to Webflow migration is handled with precision, keeping your brand identity intact and your design exactly as you envisioned.
Why work with us?
- We carefully rebuild your Figma design in Webflow, ensuring every detail—from layout to interactions—feels just right.
- We keep you informed throughout the Figma to Webflow conversion, addressing any challenges along the way.
- We ensure your website stays on-brand and visually consistent, so your audience instantly recognizes your style.
Your design deserves more than just a basic transfer—it should feel like the website you always imagined.
Ready to bring your vision to life? Let’s make it happen. Get in touch today!


