Webflow templates can be a double-edged sword. Used right, they're a time-saving lifesaver. Used wrong, well, let's just say you might just end up with a website that looks like it belongs in the "Best of Boring Websites" hall of fame.
In this blog post, we're about to share some hard-won knowledge to help you navigate the world of Webflow like a design pro.
How Do Webflow Templates Work?
Let's be honest, calling something a "template" can conjure up images of boring, one-size-fits-all designs. But Webflow templates are not your average "pick-and-click" designs. They provide a strong foundation (think responsive design) and built-in SEO tools to get you found by the right people.
Here are the main benefits of the Webflow templates that deserve their own drumroll.
Webflow templates can be a serious time-saver, especially if you're starting from scratch. They give you a solid foundation to build on, so you can ditch the coding headaches and focus on what matters: creating a website that looks great and functions smoothly.
Want a glimpse of what's possible in the world of Webflow? Check out our blog post “11 Best Webflow Website Examples In 2025 | To Be Inspired From".
How to Choose the Right Template for Your Website?
Let's face it, staring down a blank page when you need a website is a creativity killer. Webflow templates are fantastic time-savers, but picking the wrong one can leave you stuck with a website that feels generic or just doesn't fit your brand.
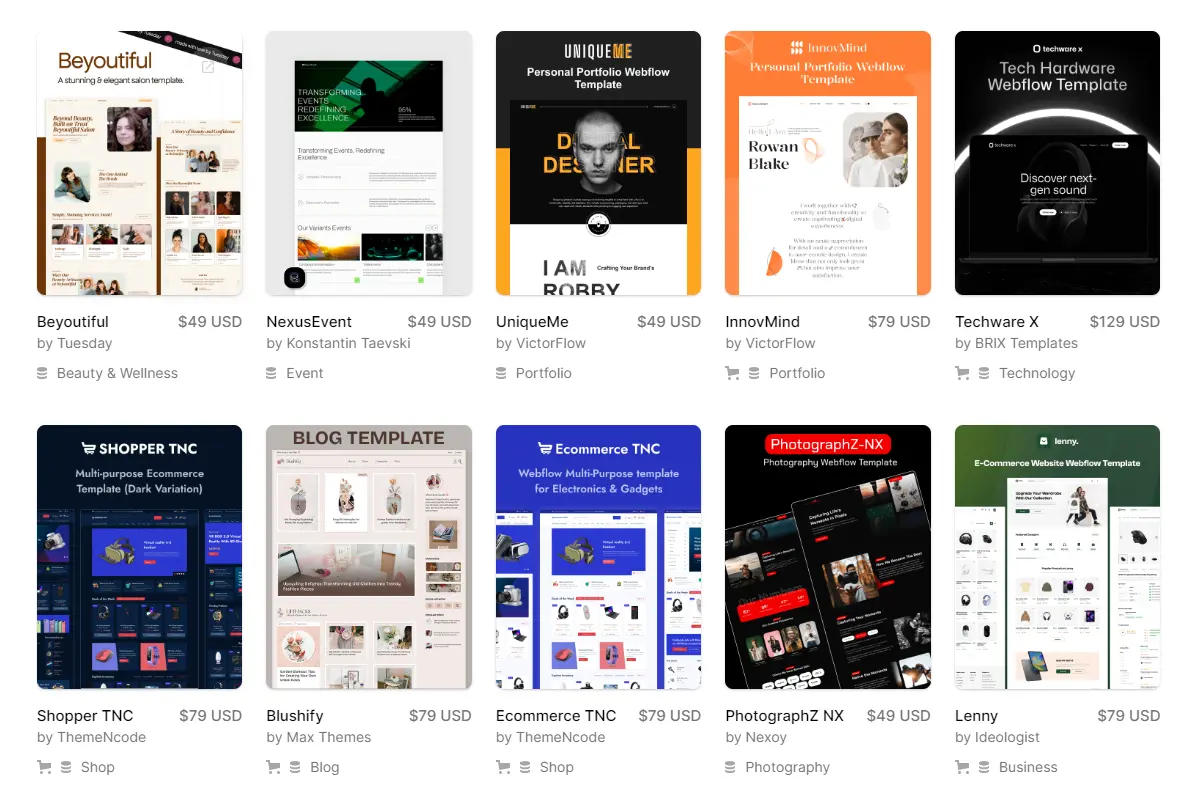
Here's how to navigate the Webflow Template Мarketplace and find the perfect template.
Know Your Destination
Before you jump in and start browsing pretty pictures, take a deep breath and think about your website's purpose. The ideal template will have the features and layout that cater to your specific needs.
For instance, a photographer might prioritize a portfolio-style template with large image galleries, while the jewelry store would need a template with strong product display functionalities and a shopping cart integration.
Look Beyond the Surface
Sure, aesthetics are important. But don't get so caught up in the glitter that you forget to check under the hood. Look for a template with a clean and well-organized code structure. This will make it easier to customize and ensure your website loads quickly.
Content is King
Does the template support the type of content you plan to have on your website? For example, if you envision a blog with long-form articles, you'll need a template with a well-structured blog section. Don't get stuck with a template that forces you to squeeze your content into an awkward format.
Honesty Corner: Don't be afraid to customize the template to make it your own and avoid ending up with a website that looks like everyone else's borrowed horse. Trust us, there's nothing worse than website déjà vu.
Stuck browsing templates? We've got you covered! Our blog post "11 Best Webflow Templates For Creating a Stunning Website in 2025" features a list of awesome templates for all sorts of websites.
When It’s Not a Good Idea to Use a Webflow Template?
Not all that glitters in Webflow’s template gallery is gold. Here's the truth about Webflow template limitations, straight from designers who occasionally wrestled with a troublesome template or two.
- Lack of Customization: Templates might not offer the flexibility needed for unique branding or specific functionalities.
- Generic Design: Your website may end up looking like many others, lacking a distinct identity.
- Overdependency: Relying too much on a template can hinder learning and using Webflow's full capabilities.
- Performance Issues: Some templates may include unnecessary code or features that slow down your site.
Honesty Corner: Webflow templates are fantastic for many projects, but they're not a magic solution for everything. If your website needs a high degree of customization, demands a truly unique design, or requires complex functionalities, a wireframe might be the better foundation. (check out our blog on "How to Make a Website Wireframe in Figma" for a deep dive on that).
Webflow Templates Pricing Explained
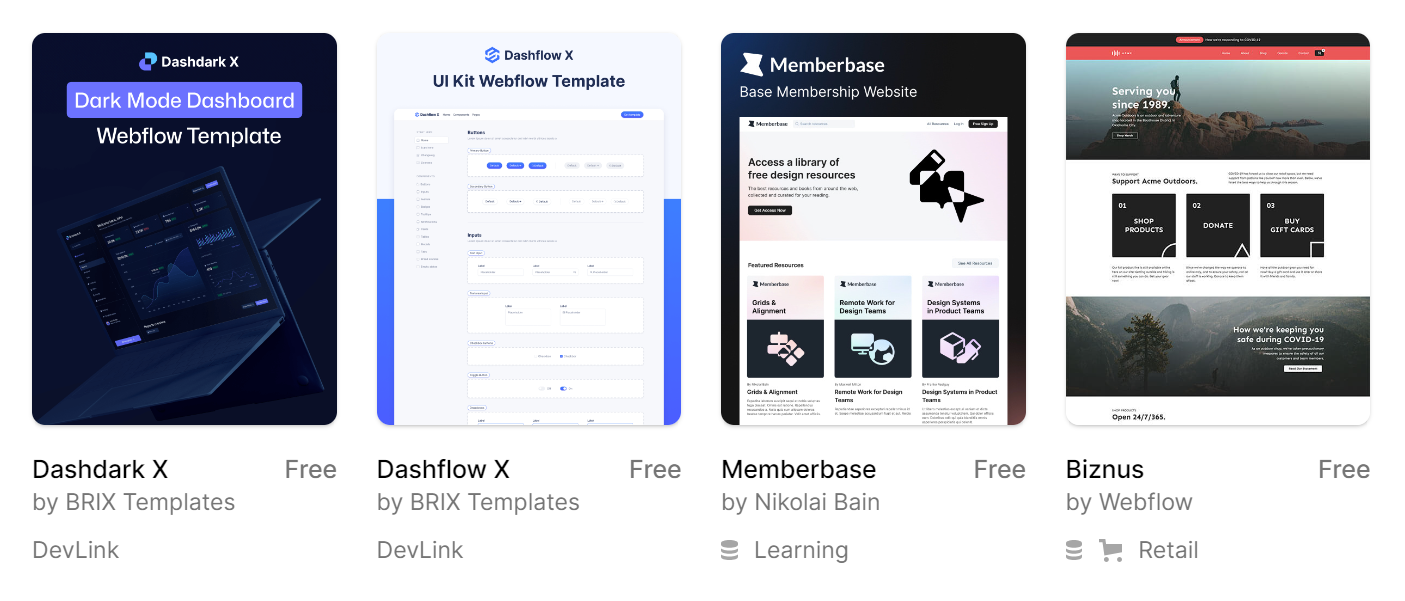
Diving into Webflow's template pricing key to nailing your budget plan. With a variety of price tags, Webflow ensures there’s a perfect fit for every wallet and project need. You’ve got two main choices: the no-cost heroes and the premium powerhouses.
Free Templates
They're usually pretty basic, but they're perfect for simple projects or if you're a web design newbie. The downside? Customization can be a bit limited, and you might not get all the fancy features you see on other websites. Just remember, a free template is better than a blank page any day!
Premium Templates
Those are the rockstars of the Webflow template world. They typically range from a price of grabbing a fancy coffee ($19) to a celebratory post-launch dinner ($129 or more). These templates come with all the bells and whistles – stunning designs, advanced features, and way more customization options.
Sure, it might cost a bit more, but you get a website that looks professional and saves you a ton of time in the long run.

Choose wisely and remember, even a premium template is just a starting point. The key to a truly stellar website lies not just in the template you choose, but how you customize it.
How to Use Webflow Templates to Create a Website? A Step By Step Guide
So, you've snagged a stunning Webflow template – congrats! Now comes the exciting part: transforming it from a blank canvas into a website that screams "you". But before you dive headfirst into edits, let's talk about some crucial steps to ensure a smooth ride.
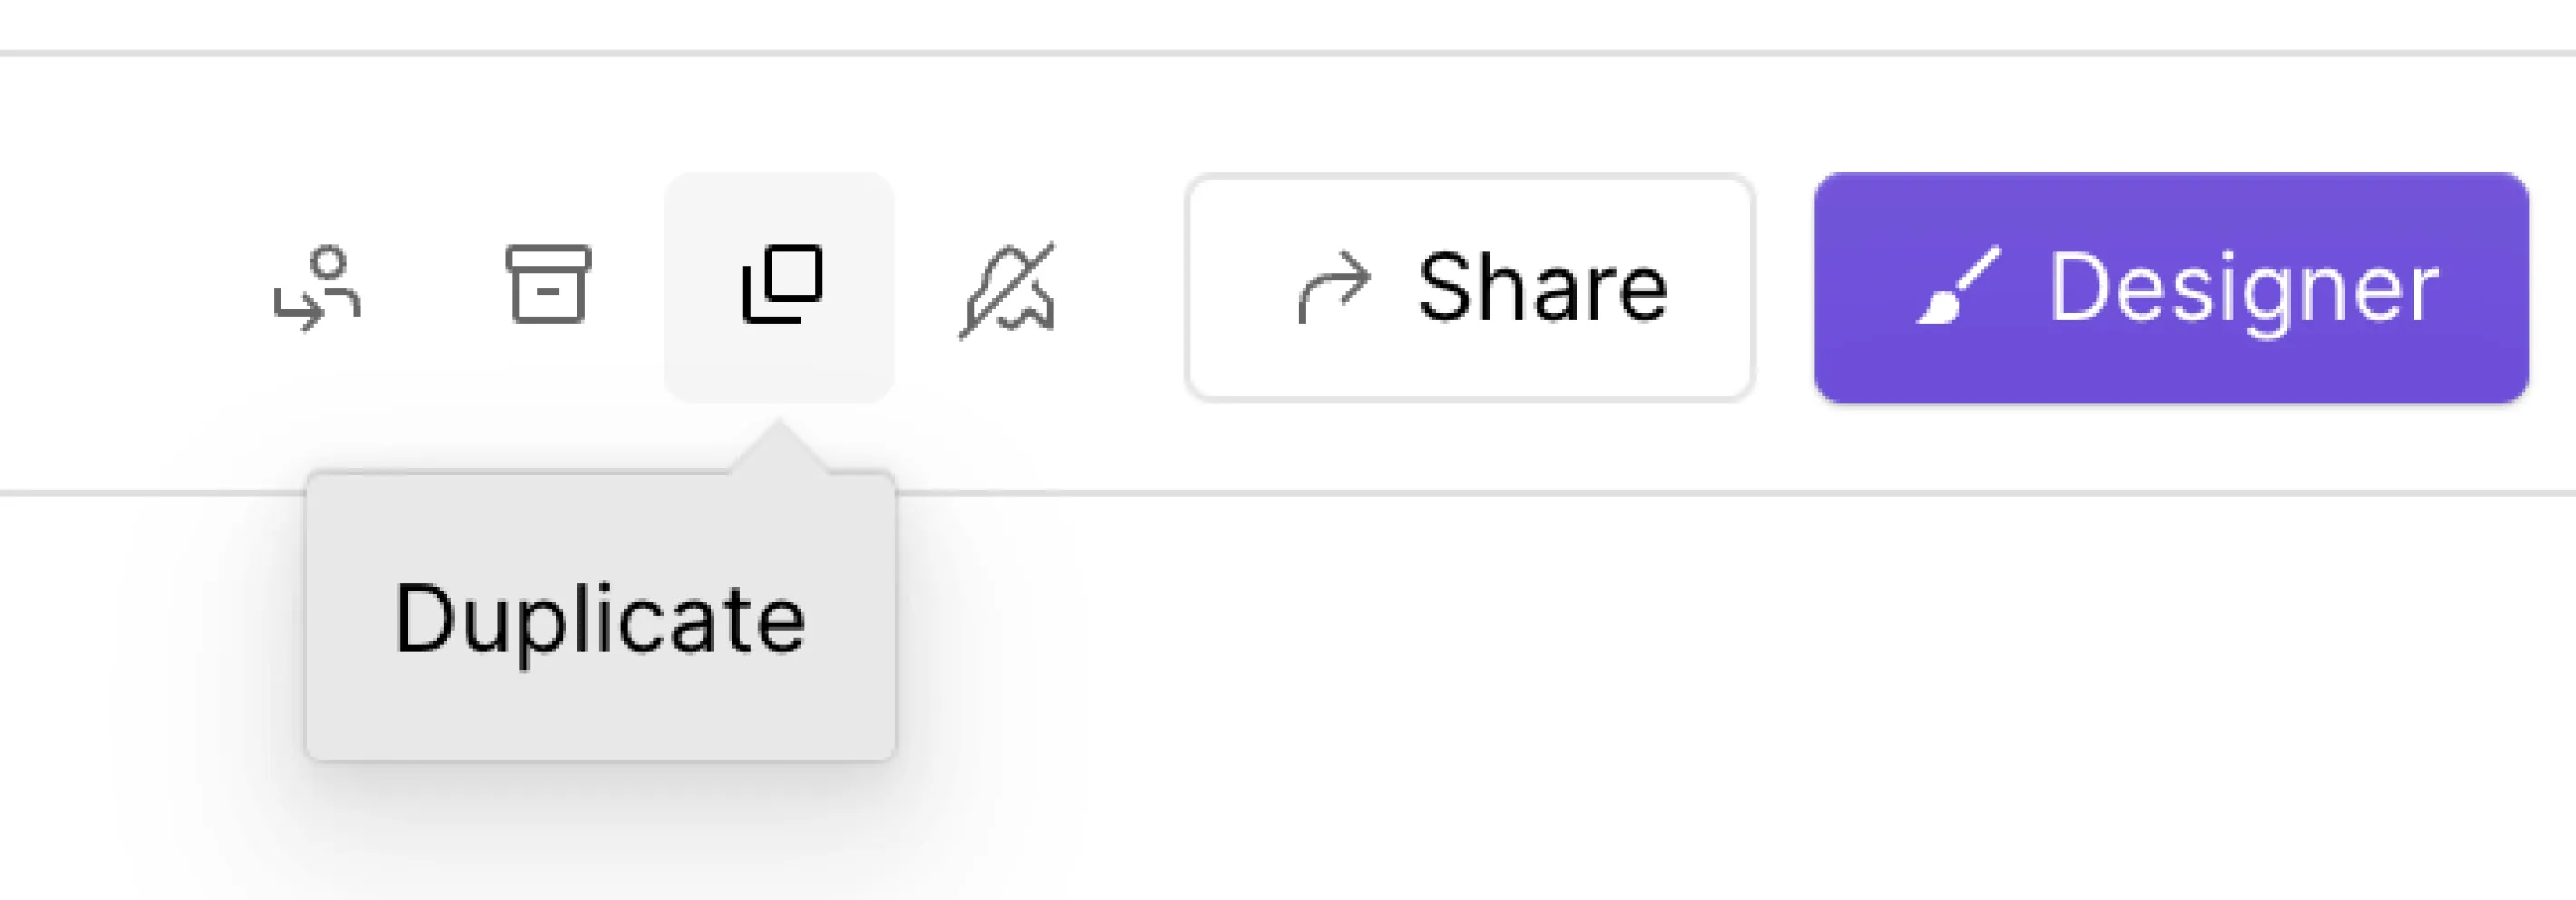
Safety First: Duplicating Your Template
Think of this as your website's "undo" button. In Webflow, navigate to the "Project Settings" tab (it looks like a gear icon in the top left corner). Click on "Settings" and then "General".
Here, you'll find a button that says "Duplicate Project". Do this – it creates a backup copy in case your edits go a little unexpected. Trust us, even website design experts have those days!
Finding Your Voice: Changing Fonts
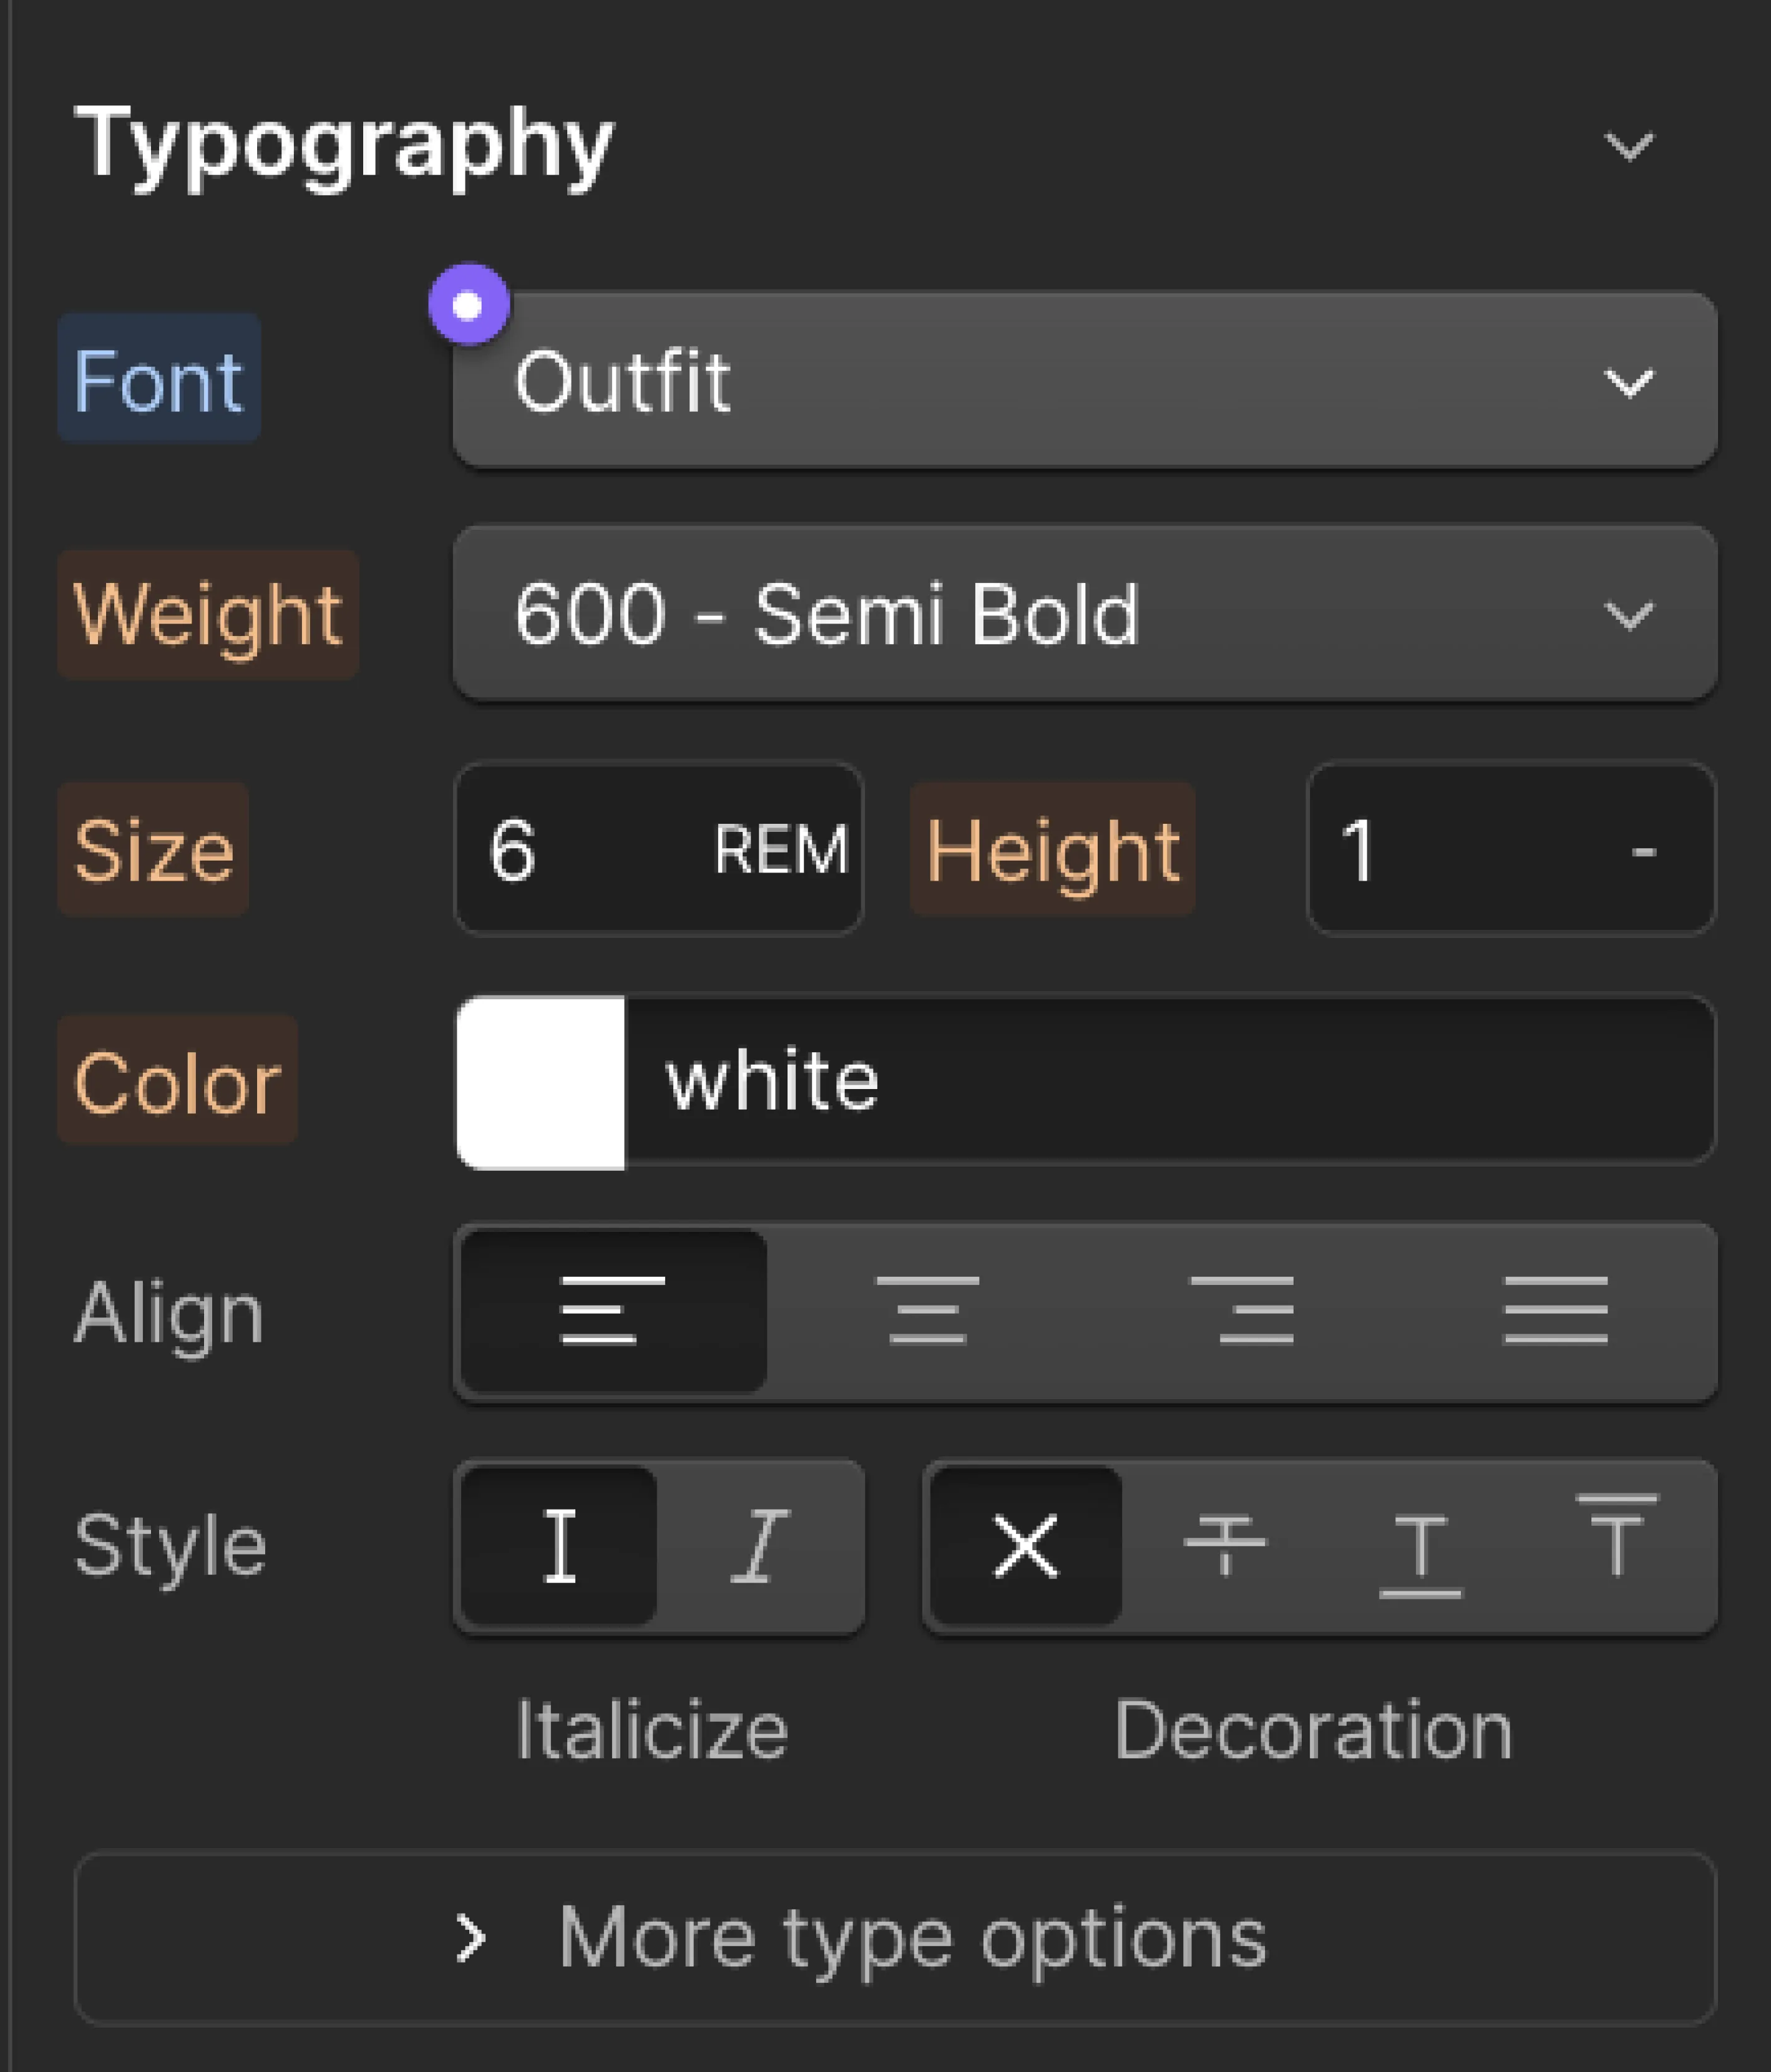
The right font sets the tone for your entire website. Head back to the "Designer" tab (it looks like a little house icon). Click on the text element you want to change the font of. On the right-hand panel, you'll see a section called "Font Family".
This is where the magic happens – browse through the extensive library and pick a font that speaks to your brand personality.
A Splash of Color: Managing Colors
Templates come with pre-defined color schemes, but unleash your inner artist! In the "Designer" tab, click on any colored element (text, button, background). The right-hand panel will display the "Color" section. Here, you can adjust the color using a color picker or enter a specific hex code if you have a brand color in mind.

Honesty Corner: Avoid a rainbow explosion! Pick a cohesive color palette that reflects your brand and creates a pleasing visual experience.
Don't Trash, Just Draft: Saving Unused Pages
Some template pages might not be what you need right now. But before you hit delete, consider this: Webflow allows you to save unused pages as drafts. In the "Pages" panel (it looks like a stack of squares on the left), hover over the unwanted page and click the three dots that appear. Select "Draft" from the menu.
This way, you can revisit these pages later if your website's needs evolve. Think of it like your website's storage locker – you never know when you might need those extra pages.

Speed Demons: Keeping Your Site Speedy
A slow website is the enemy of a good first impression. While templates are generally well-optimized, there's always room for improvement. Look for ways to streamline your site – optimize image sizes using online tools (there are many free ones), remove unnecessary plugins, and consider a higher-tier Webflow plan for faster loading speeds.
Remember! A fast website keeps visitors happy and makes a good impression on search engines like Google.
Claim Your Corner of the Web: Choosing a Domain Name
This is your website's unique address on the internet. Keep it short, memorable, and relevant to your brand. Webflow offers domain registration within the platform, or you can choose to purchase one from a third-party domain registrar.
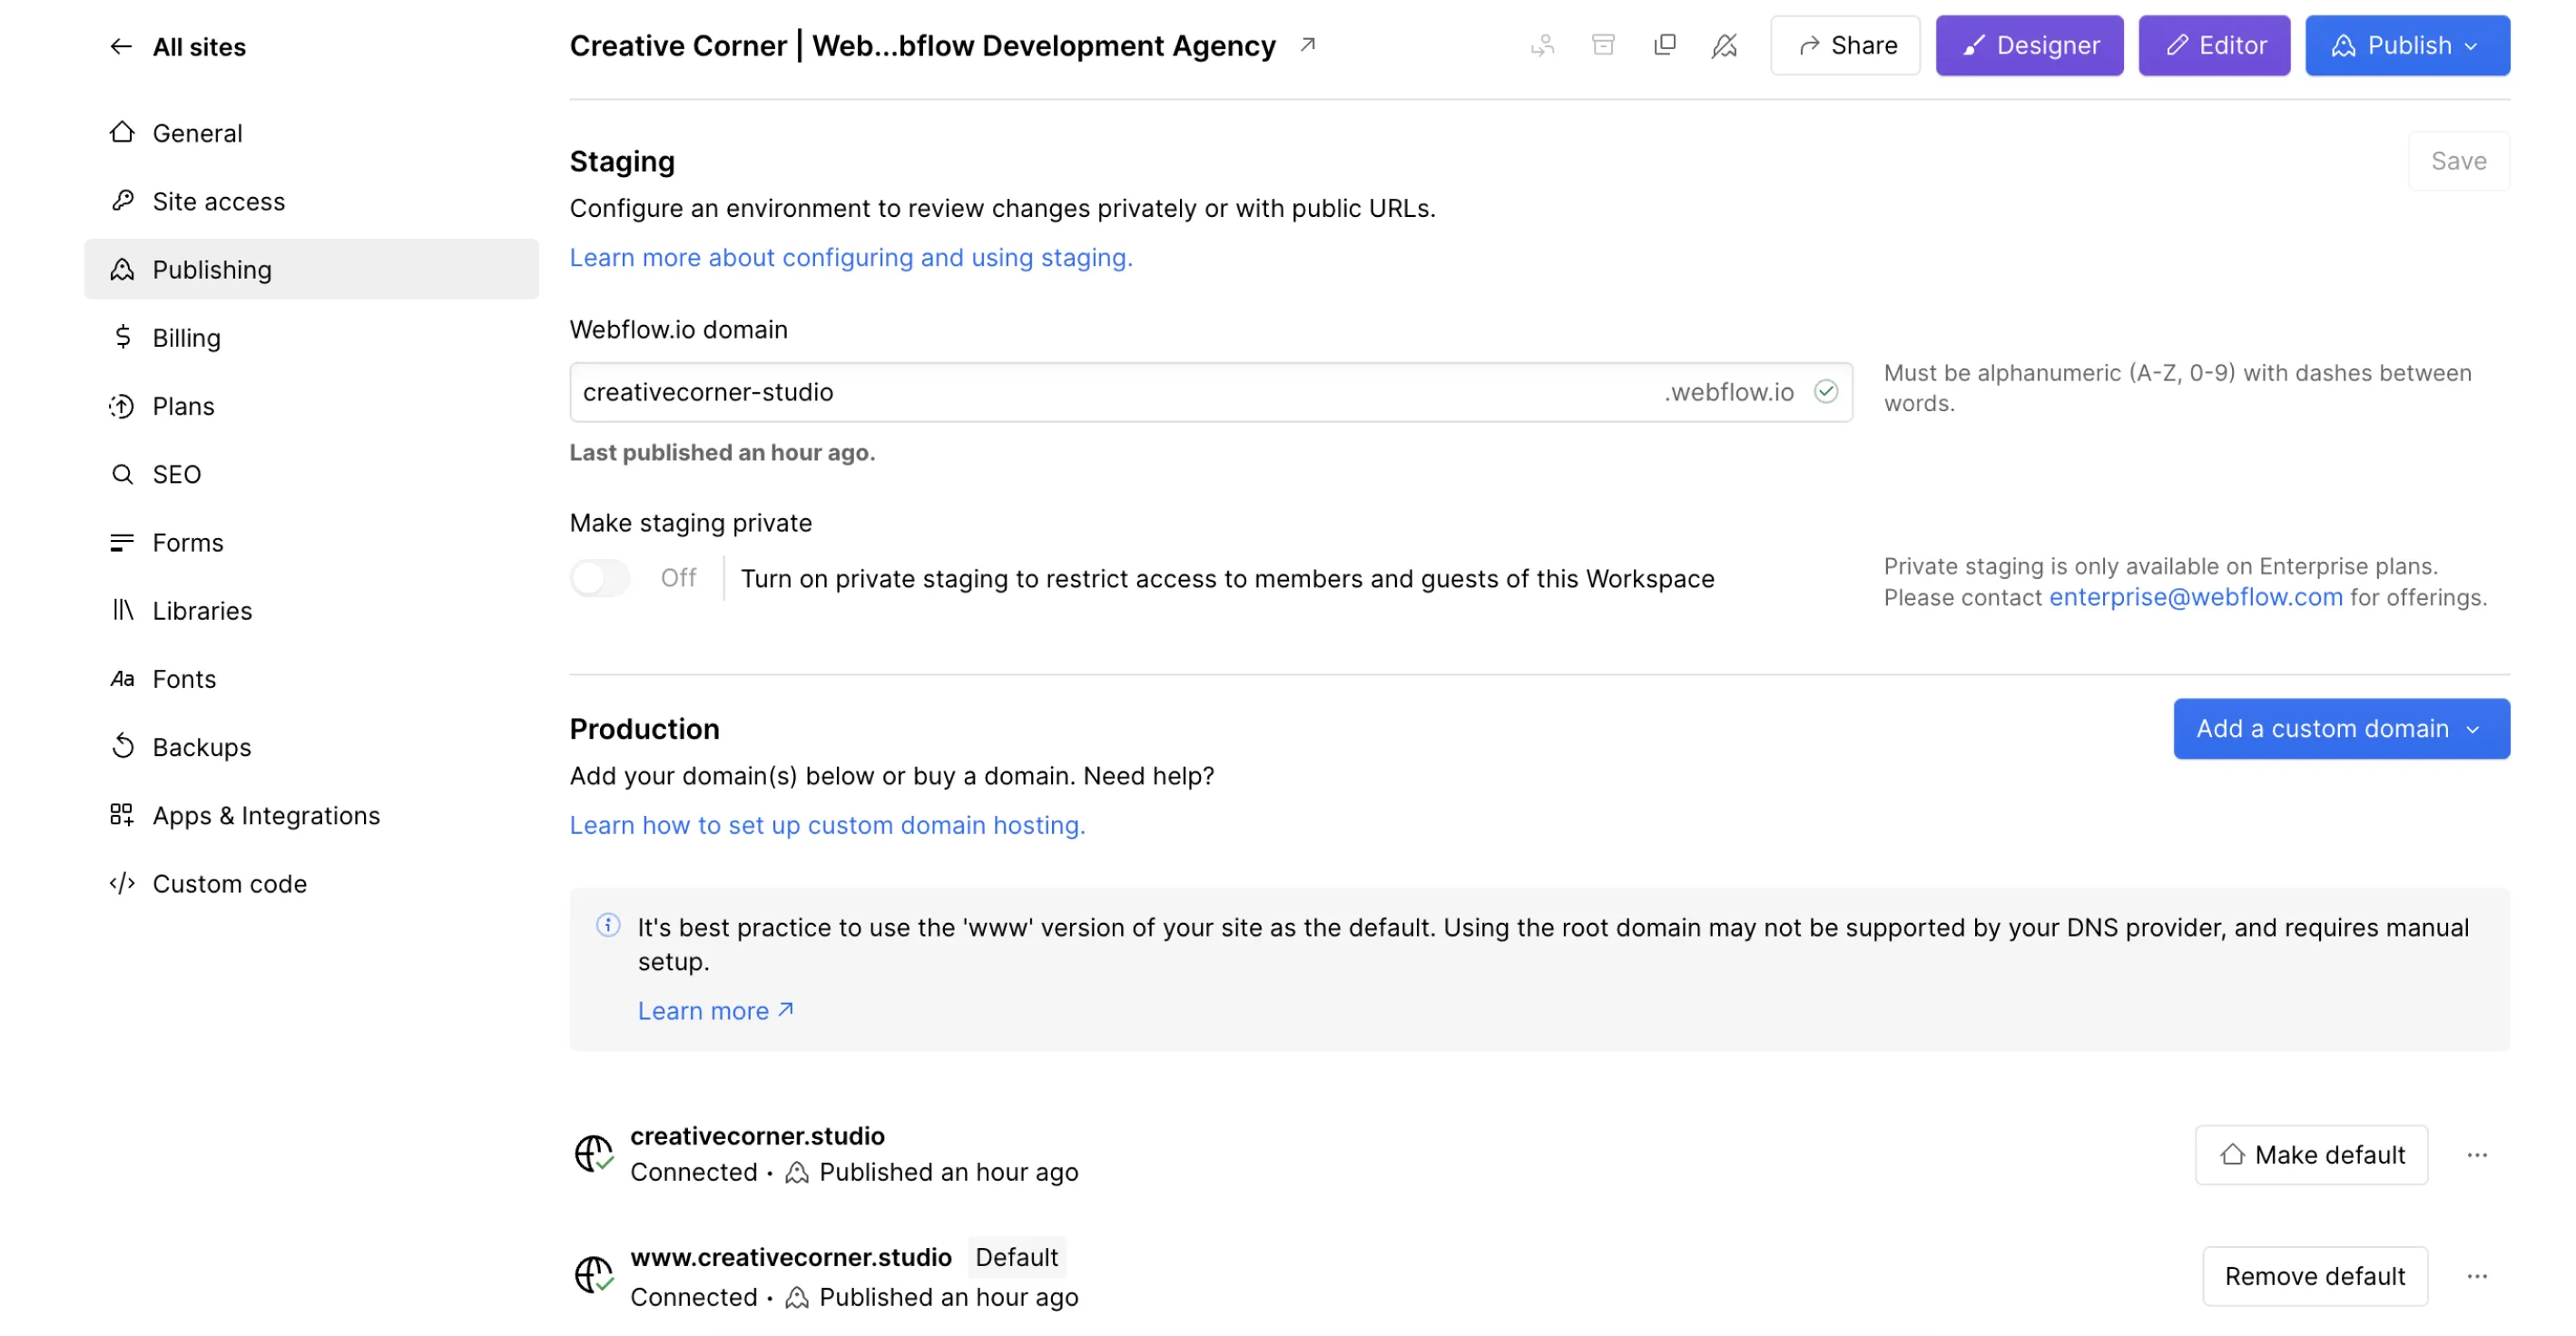
Lights, Camera, Action! Publishing Your Website
Once you're happy with your website's look and feel, it's time to share it with the world. In Webflow, navigate to the "Project Settings" and click on the "Publishing" tab. Here, you can choose how you want to publish your site – either directly through Webflow's hosting or by exporting the code and hosting it elsewhere.

This guide has equipped you with the foundational skills to launch your Webflow website, but there's a whole world of customization waiting to be explored. Think replacing generic images with your own captivating visuals, or swapping out placeholder text for your unique brand voice.
But here's the catch: unlocking these advanced features can require a deeper understanding of Webflow. Responsive design, ensuring your website looks flawless on all devices, and SEO optimization, helping your website climb the search engine rankings, are powerful tools, but they can also involve some technical know-how.
Feeling a little out of your depth? That's perfectly normal.
Don't let technical hurdles hold you back – consider partnering with a Webflow agency to unlock the full potential of your website. To help you navigate your options, check out our blog post "Best Webflow Agencies in 2025 | Reviewed".
Final Words
We've been using Webflow for years, and we've seen it all. Back in the day, we built everything from scratch – sometimes resulting in websites that looked like they belonged in the era of dial-up internet. But templates offer a fantastic starting point, a springboard to launch your website dreams into reality. The key, as with all things good in life, lies in moderation.
So, the next time you're staring down a blank page feeling overwhelmed, don't despair! Just remember, a little customization goes a long way in creating a website that truly reflects your brand. After all, this is about building websites, not casting spells (although a good designer can sometimes feel like they're working magic).
Need a little help with Webflow?
Here at Creative Corner, we're all about clear communication and realistic expectations. We understand that Webflow, despite its user-friendly nature, can still have its complexities. We'll take the technical complexities off your plate, allowing you to focus on your brand story and content.
Contact us today and let's chat!


