So, you've built a website with Bubble, but now you want to explore other options. Why? Because it gets the job done fast, but it ain't winning any design awards. Here's why migrating to Webflow might be the design upgrade your website (and your sanity) needs.
Why Bother Migrating to Webflow?
First off, let’s talk about why you’d want to make this switch. Bubble is fantastic for quickly building MVPs (Minimum Viable Products) without writing a single line of code.
However, as your web app grows, you might find yourself needing more advanced features and better scalability. That's where Webflow shines.
Btw, if you're curious to learn more about low-code development and how it's changing website creation, check out this insightful article: "What Is Low Code Development & How It's Simplifying Website Creation". It dives deeper into the benefits and considerations of this growing trend.
Bubble to Webflow Migration: A Step-by-Step Guide
This guide dives deep into the process, from exporting your Bubble data to recreating stunning layouts in Webflow. Consider it your secret weapon for taking your website from 'good enough' to 'jaw-dropping'.
Step 1: Inventory Your Current Site
Before you begin, follow these steps to create a comprehensive list of all elements on your Bubble site.
- List Pages
Navigate through your Bubble site and write down the names of all existing pages.
- Identify Dynamic Data
Look for elements like blogs, user profiles, or any content that changes dynamically. Note down these dynamic data types for reference.
- Document Functionalities
Identify all forms, buttons, and other interactive elements on your site. Make a list of these functionalities to ensure nothing is missed.
- Custom Codes or Plugins
Check for any custom code snippets or plugins used within your site. Note down each one, including details about their purpose and implementation.
Step 2: Set Up Your Webflow Account
Log in to your Webflow account and create a new project. Choose a blank canvas if you want to build from scratch, or select a template that closely matches your current site layout.

Wisdom Corner: Don't try to reinvent the wheel! Webflow templates offer a user-friendly way to get your website design rolling. Check out our blog post for some pre-built inspiration: "11 Best Webflow Templates For Creating a Stunning Website in 2025".
Step 3: Recreate Your Database Structure
Step 1 and Step 2 are like preparation and planning. Step 3 is the actual migration process.
- Identify Your Data Trove
Start by taking inventory of all your Bubble data types (e.g., blog posts, user profiles, product listings). Think of these as the building blocks of your content.
- Build Your Webflow CMS Collections
Webflow's CMS allows you to create structured containers called "Collections" for storing different types of content. Map these Collections to your Bubble data types (one Collection per data type).
- Map Your Data Fields
Within each Collection, define the specific fields that will hold the actual data points (e.g., "Title" and "Content" for blog posts). Ensure these fields mirror the structure of your Bubble data for a smooth transition.
- Export & Import Your Data Seamlessly
Bubble offers the ability to export your data as a JSON file. Webflow then provides user-friendly tools to import this JSON file and populate your newly created CMS Collections. This essentially bridges the data gap between your Bubble and Webflow environments.

Wisdom Corner: While these are the core steps, the complexity of your structure might require some additional tweaks. But trust us, Webflow's CMS is like a breath of fresh air. We're not saying it's a walk in the park, but compared to other platforms, Webflow makes this process significantly less likely to leave you feeling like you're drowning in data.
Step 4: Design and Layout
This is where the fun begins!
- Recreate Pages
Use Webflow's designer to recreate each page from your Bubble site. This might take some time, but the final result will be worth it.
- Add Components
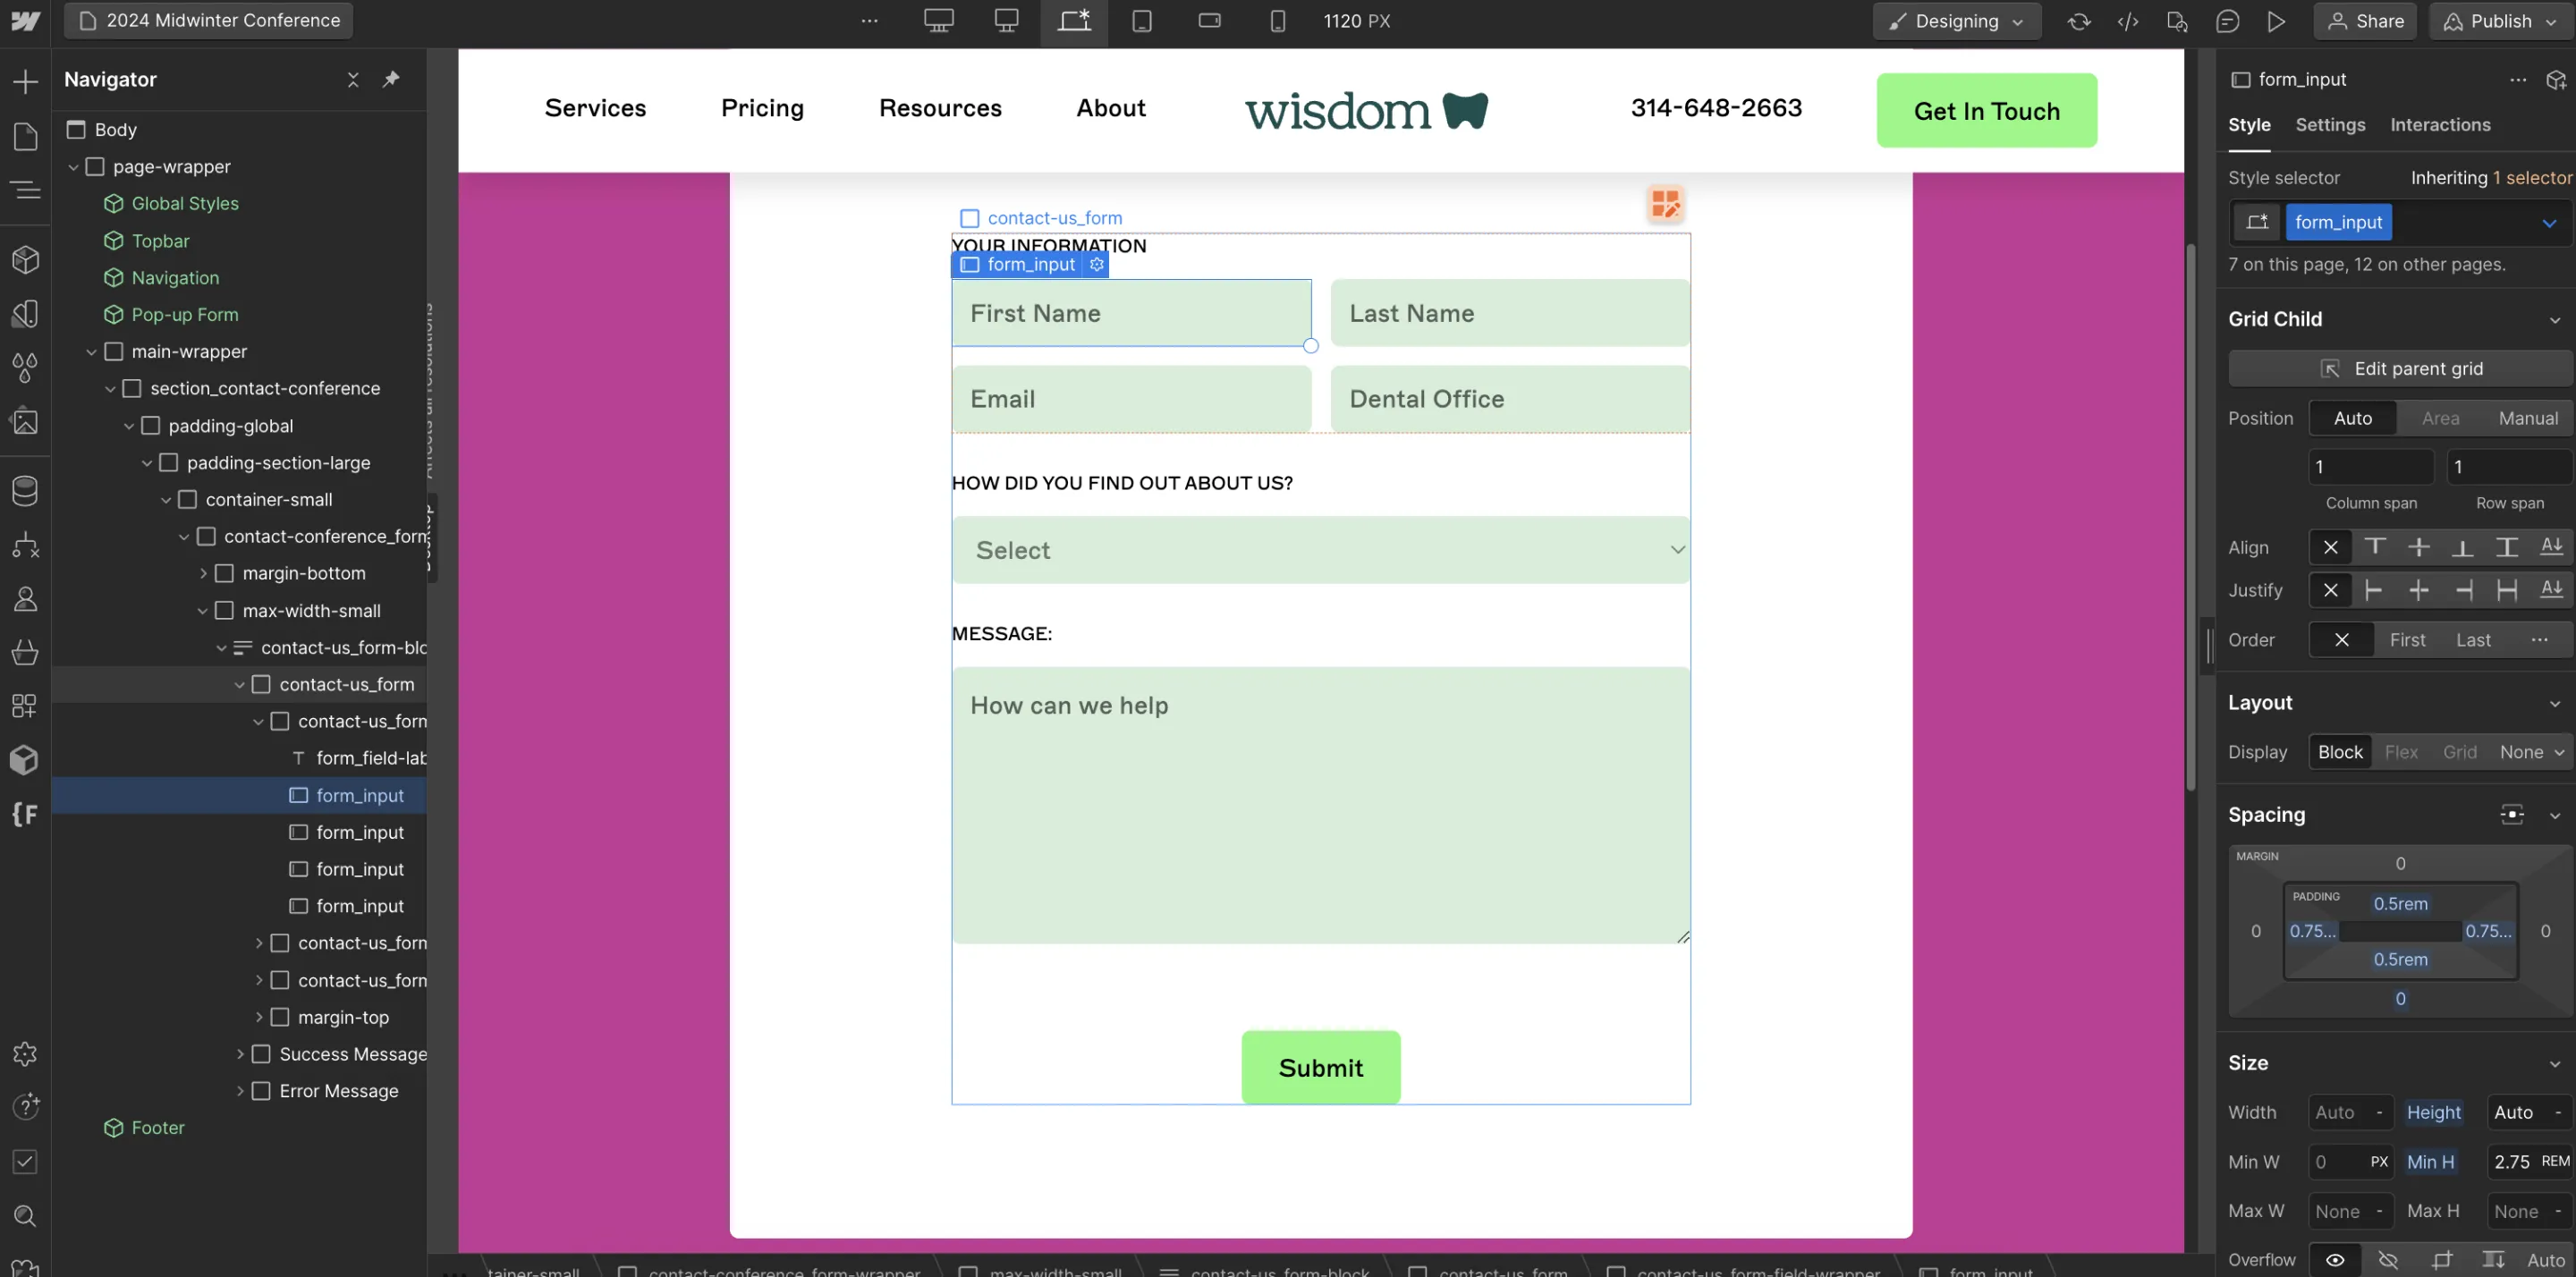
Drag and drop components like headers, text blocks, images, and buttons. Webflow’s designer is highly visual, making this part a breeze.
- Styling
Utilize Webflow's robust styling options to fine-tune your design. From typography to color schemes, the sky’s the limit.

Feeling stuck on your Webflow design? Spark your creativity! Check out the "11 Best Webflow Website Examples In 2025 | To Be Inspired From".
Step 5: Implement Functionality
Here’s where you bring in the interactivity.
- Forms
Recreate forms using Webflow’s form elements.
- Animations
Add interactions and animations to make your site more engaging. Webflow’s interaction tools are incredibly powerful and user-friendly.
- Custom Code
If you have custom code snippets in Bubble, you can embed them into your Webflow site using the ‘Embed’ element.

Step 6: Test
Don't skip the final polish! Test every form, button, and dynamic element on every device and browser. Your visitors deserve a smooth experience, no exceptions.
Step 7: Launch
Once you’re confident everything is working perfectly, it’s time to go live. Publish your site on Webflow and point your domain to Webflow’s servers.

Want to know if Webflow is the perfect upgrade for your Bubble website? Take a deep dive into our comparison: “Webflow vs Bubble: Which Platform To Choose In 2025?”
What Are the Challenges of Bubble to Webflow Migration?
Migrating between platforms isn’t just a walk in the park. It’s more like navigating a maze blindfolded.
Here are some challenges you might encounter:
Final Words
We get it – Bubble's a prototyping powerhouse, and it's great for getting ideas off the ground. But when it comes to crafting a truly jaw-dropping website, Webflow is the king of the castle.
So, ready to ditch the Bubble blues and transform your website? The internet is full of amazing Webflow tutorials, but for those who crave a smoother journey, that's where a little Creative Corner magic comes in…
We're a web design agency that specializes in unlocking the full potential of Webflow. We'll handle the migration process, craft a jaw-dropping design, and ensure your website delivers exceptional user experience.
Skip the headaches, and focus on your vision. Let's chat!


.webp)
